拆分芋道项目,使用role的方式完成任务
前端项目,使用最新的tag,可参考以下步骤
1. 使用git模块克隆代码仓库,使用最新tag v2.6.0)
- name: 克隆 yudao-ui-admin-vue3 仓库
  git:
    repo: https://gitee.com/yudaocode/yudao-ui-admin-vue3.git
    dest: /opt/yudao-ui-admin-vue3
    version: v2.6.0
    force: yes  # 如果已有目录强制更新(可选)
2. 配置nodejs环境
- name: 复制nodejs安装包
  copy:
    src: node-v22.16.0-linux-x64.tar.xz
    dest: /opt/
- name: 解压nodejs
  unarchive:
    src: /opt/node-v22.16.0-linux-x64.tar.xz
    dest: /opt/
    remote_src: yes
  args:
    creates: /opt/node-v22.16.0-linux-x64
- name: 写入系统profile.d
  copy:
    dest: /etc/profile.d/nodejs.sh
    content: |
      export PATH=/opt/node-v22.16.0-linux-x64/bin:$PATH
    mode: '0755'
3. 配置npm镜像源
- name: 配置环境
  shell: |
    source /etc/profile.d/nodejs.sh
    npm config set registry https://mirrors.cloud.tencent.com/npm/
  args:
    executable: /bin/bash
4. 安装pnpm(最新版本已兼容pnpm10,安装最新版即可)
- name: 配置pnpm
  shell: |
     npm install -g pnpm
  args:
    executable: /bin/bash
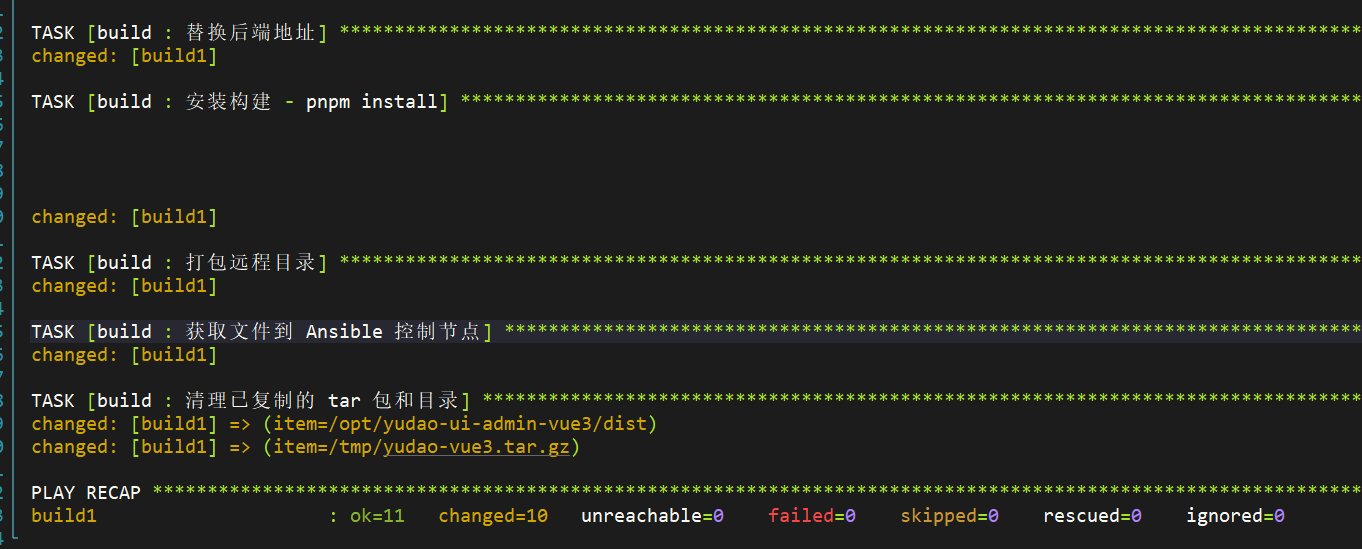
5. 替换.env.local中后端api的地址。
- name: 替换后端地址
  replace:
    path: /opt/yudao-ui-admin-vue3/.env.local
    regexp: 'localhost'
    replace: '192.168.75.132'
6. 使用pnpm安装前端项目所需依赖。
- name: 安装构建 - pnpm install
  shell: |
    source /etc/profile.d/nodejs.sh
    cd /opt/yudao-ui-admin-vue3
    pnpm install
    pnpm build:local
  args:
    executable: /bin/bash
7. 构建项目,并将产物发送到Ansible主控机。
- name: 打包远程目录
  ansible.builtin.command:
    cmd: tar czf /tmp/yudao-vue3.tar.gz -C /opt/yudao-ui-admin-vue3/dist .
  args:
    creates: /tmp/yudao-vue3.tar.gz

- name: 获取文件到 Ansible 控制节点
  ansible.builtin.fetch:
    src: /tmp/yudao-vue3.tar.gz  # 构建机器上的文件路径
    dest: ../roles/server/files/      # 控制节点上的临时目录
    flat: yes
  run_once: true # 确保只执行一次,即使有多个主机在 play 中

- name: 清理已复制的 tar 包和目录
  ansible.builtin.file:
    path: "{{ item }}"
    state: absent
    force: yes
  loop:
    - /opt/yudao-ui-admin-vue3/dist
    - /tmp/yudao-vue3.tar.gz